I’ve been wanting to make lasagna ever since I discovered there are now no-boil lasagna noodles! GENIUS. So as usual, I browse Pinterest for a recipe I’d like to try. I landed on this one and added my own tweaks – most significantly was that I added ground turkey to the recipe 🙂

Yummy!
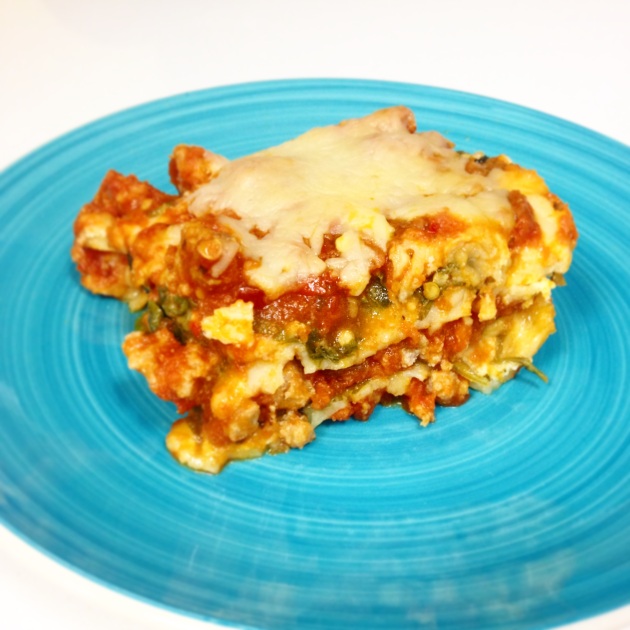
This picture is of the lasagna on the next day. I ran into some problems with the lasagna as I was making it… you’ll see 😛
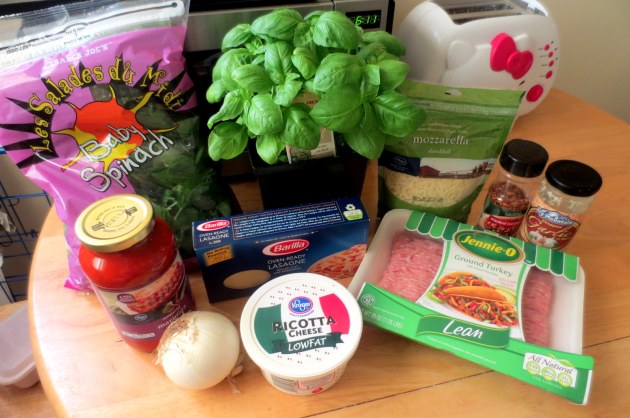
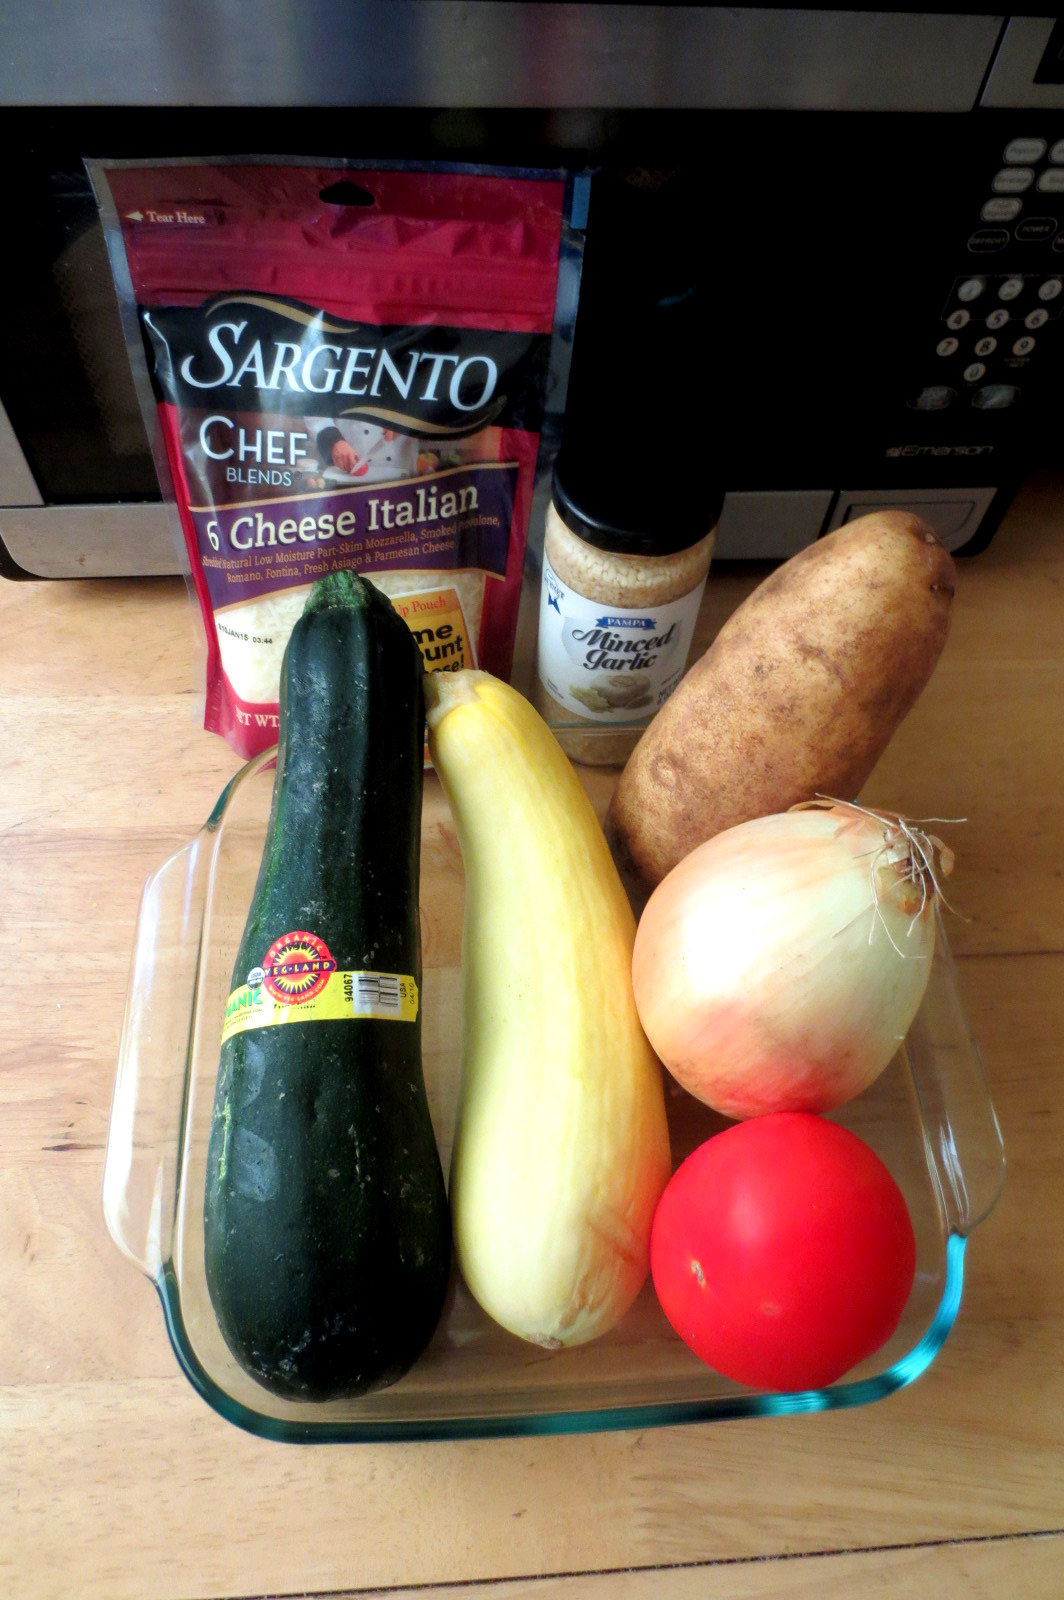
Start with your ingredients
Spinach, basil ( I have a basil plant that hopefully won’t die), marinara sauce, no-boil lasagna noodles, an onion (optional), ricotta cheese, ground turkey (optional), mozzarella cheese and spices (minced garlic and red pepper flakes). I started by seasoning the ground turkey (I used about half the tray) with garlic powder, onion powder, red pepper flakes, salt and pepper.
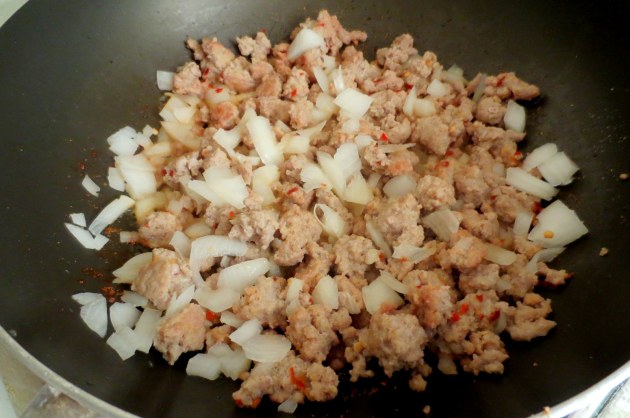
Cook until no longer pink and throw in the onions. Cook until the onions are soft.

I poured the whole jar of marinara in. Taste and season if needed.
And that’s all the cooking you need to do! Now for assembly!
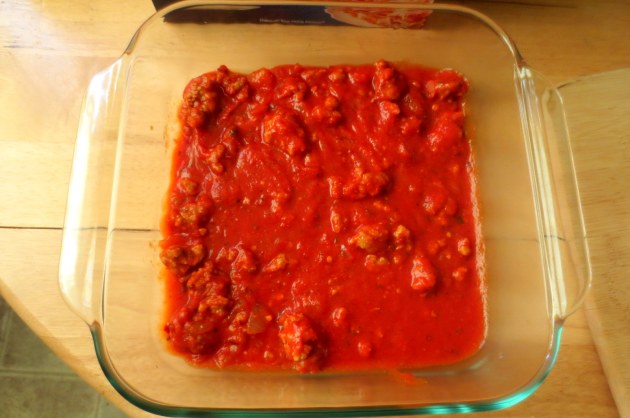
Pour a layer of the sauce mixture onto the bottom of your dish
Add a layer of no-boil noodles-
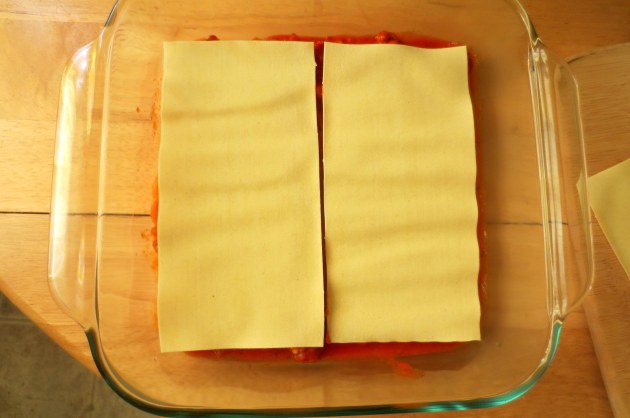
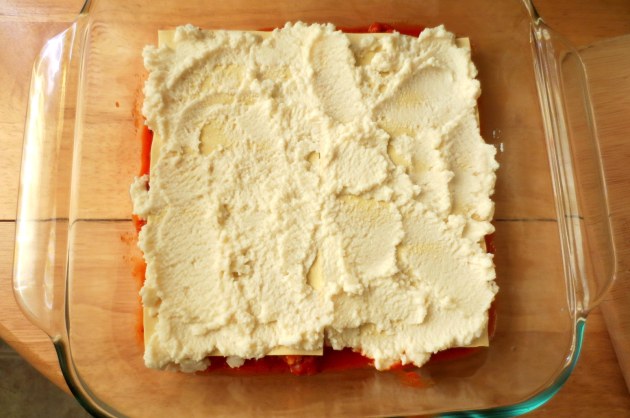
Then a layer of ricotta. I tried to make my layer relatively thin because I didn’t want my lasagna too cheesy.
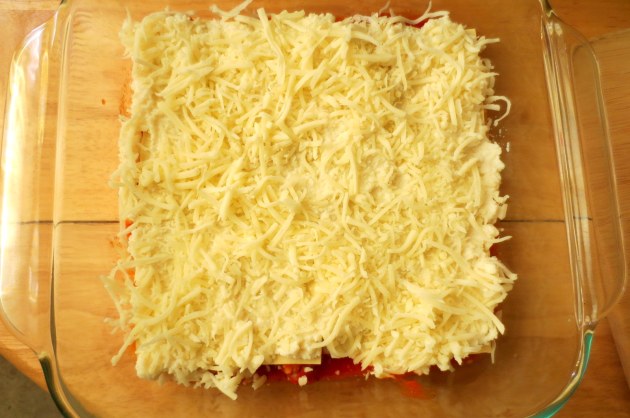
Layer of mozzarella~
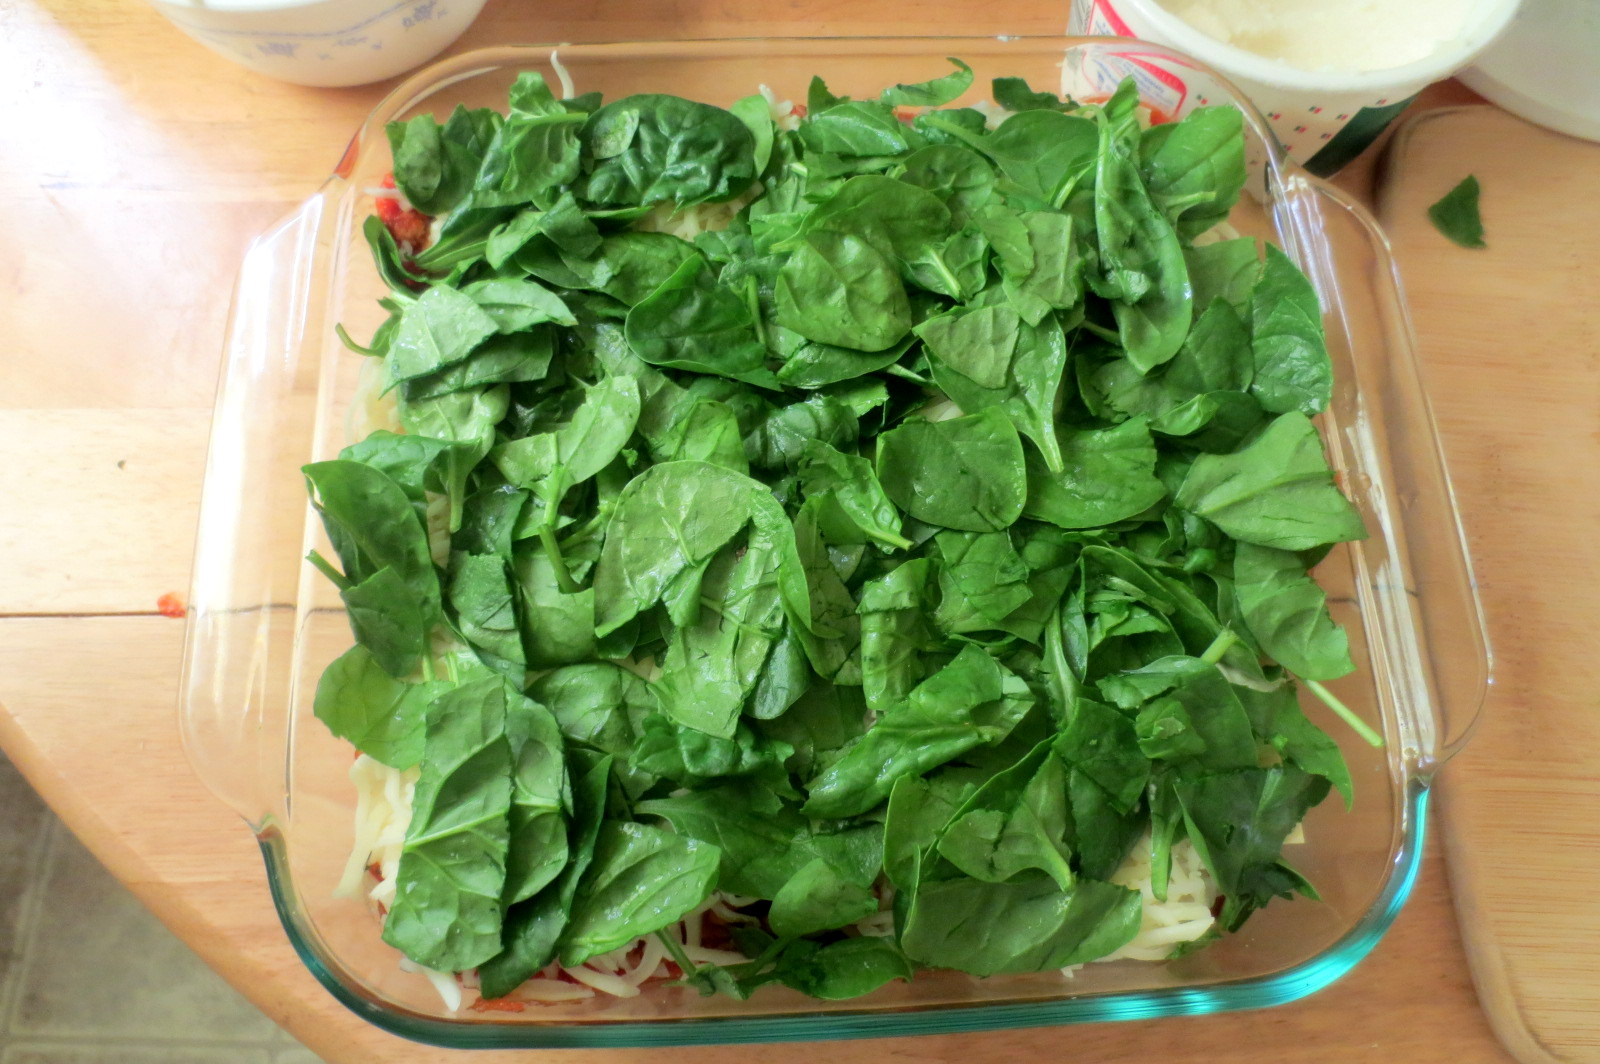
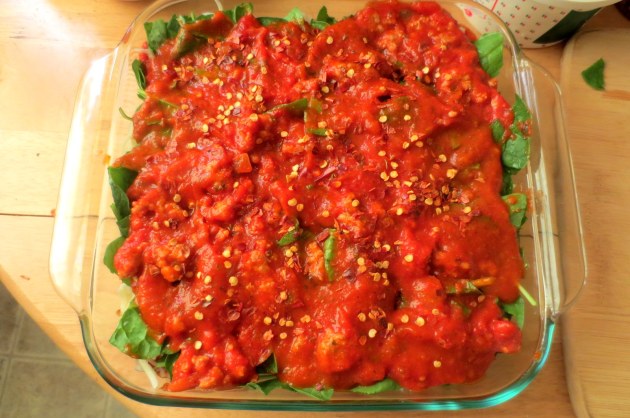
Layer of chopped spinach and basil~

Add another layer of sauce, noodles, ricotta, mozzarella and spinach & basil. The original recipe calls for three layers but my pan was full after two-ish layers. I topped the top layer of spinach and basil with the last of the sauce and red pepper flakes.
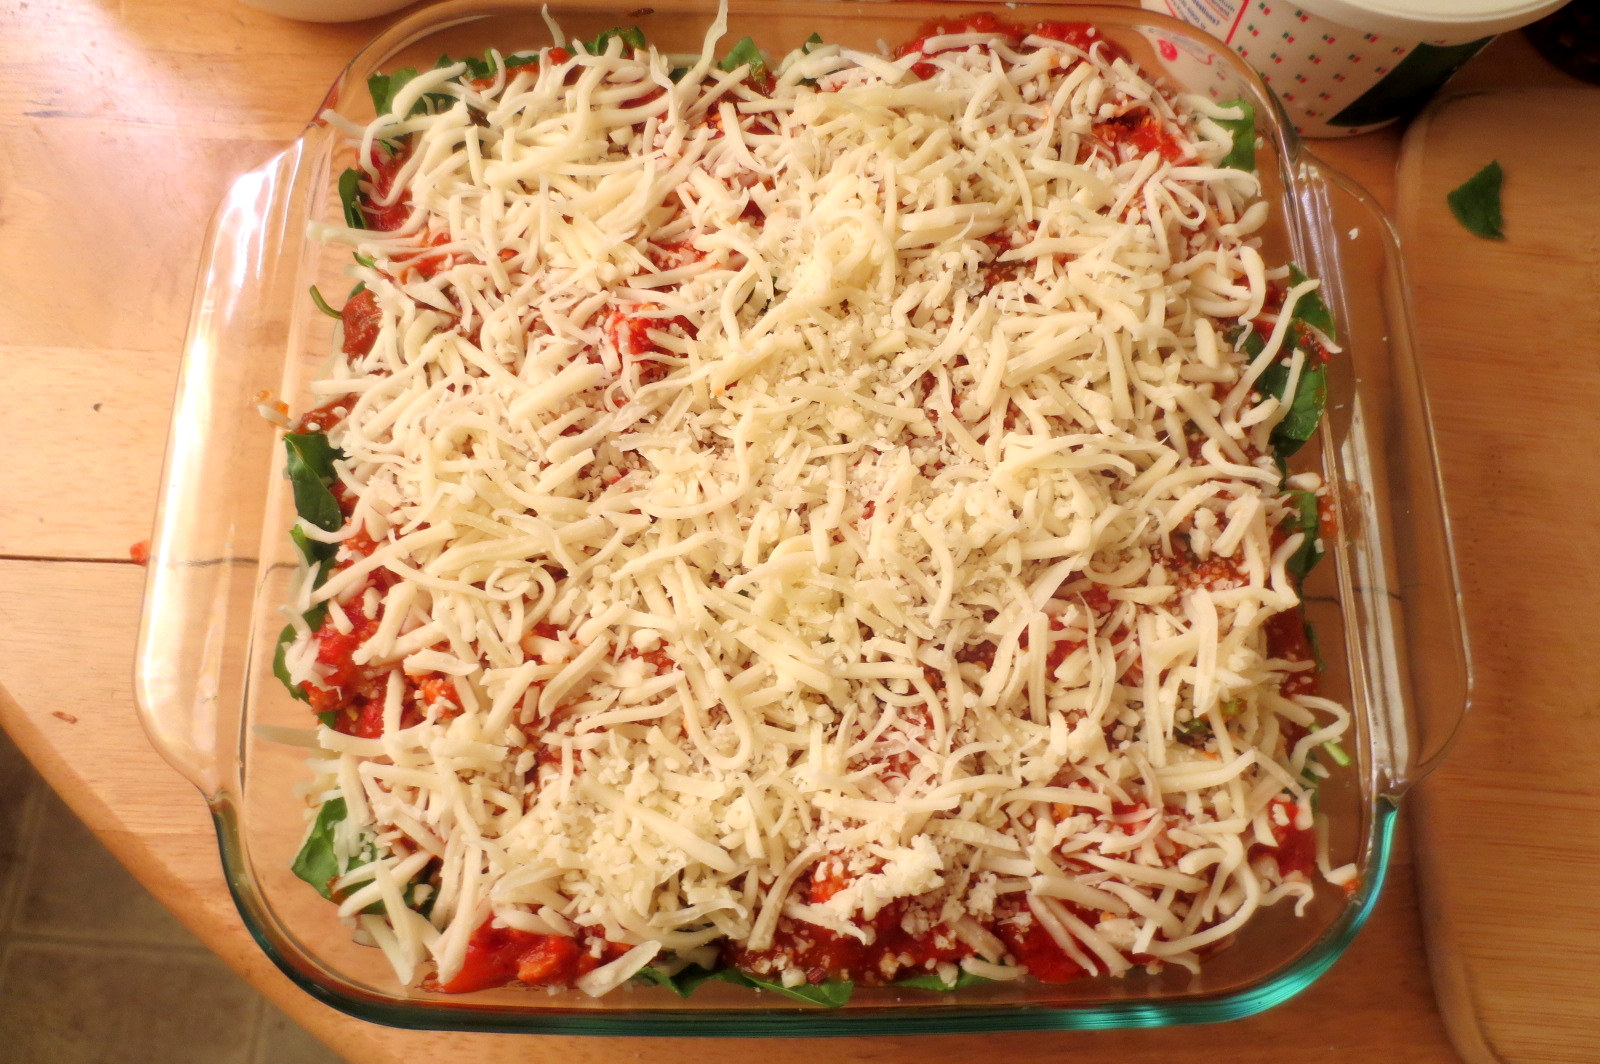
Then one last layer of cheese

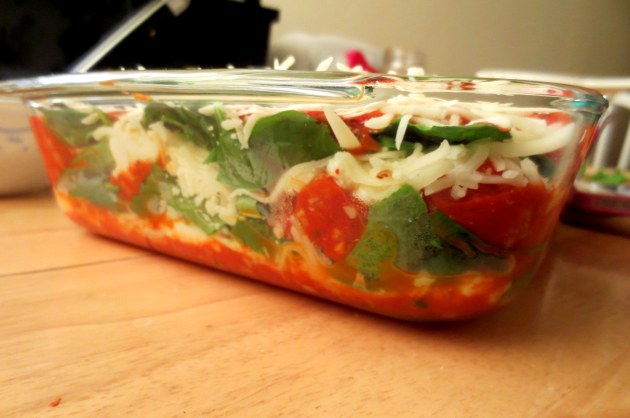
Those layers!
Cover the lasagna with foil and bake for 30 minutes at 350 degrees. Then uncover and continue baking for 15 minutes. I added an extra 10 minutes because my lasagna didn’t look ready yet.
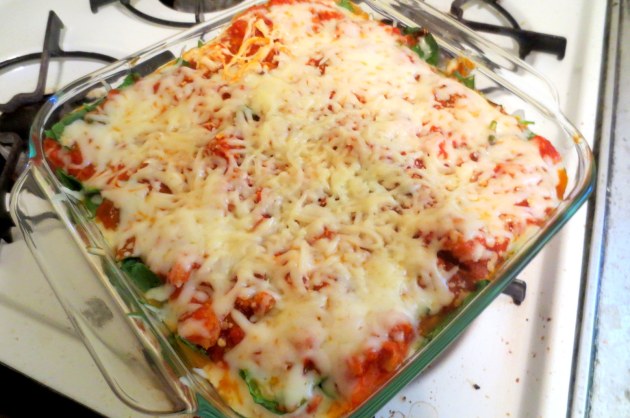
After 30 minutes baking, covered in foil
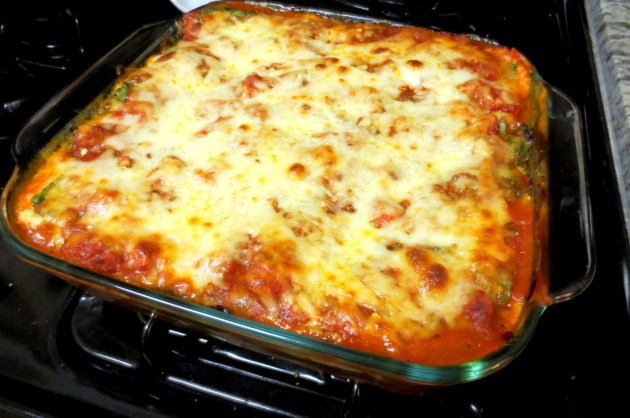
The final result!
I KNEW my lasagna was too wet/wobbly to be sliced into nice layers the second I started cutting into it. The only reason I can think of was that the fresh spinach and basil released a lot of water during baking and made everything all wobbly OR I didn’t have enough layers like the original recipe called for.

More like lasagna soup 😦
Luckily it was still tasty! And after letting the lasagna cool on the stove, the layers set up beautifully! We were able to scoop the pieces out of the dish and into tupperware just fine. YAY! And it held up GREAT the next day!
I don’t know what exactly went wrong – maybe I needed to use a bigger lasagna dish, or maybe I needed to cook the spinach and basil first so they wouldn’t have released water during baking, or maybe I needed another layer of noodles. Or maybe I simply needed to let the lasagna sit for a while and re-heated it! That seemed to do the trick 🙂
I’m glad I finally got to use the no-boil noodles, they are such a great time saver! I will be making lasagna again, definitely with more tweaks 🙂
Happy cooking!
-Yenny
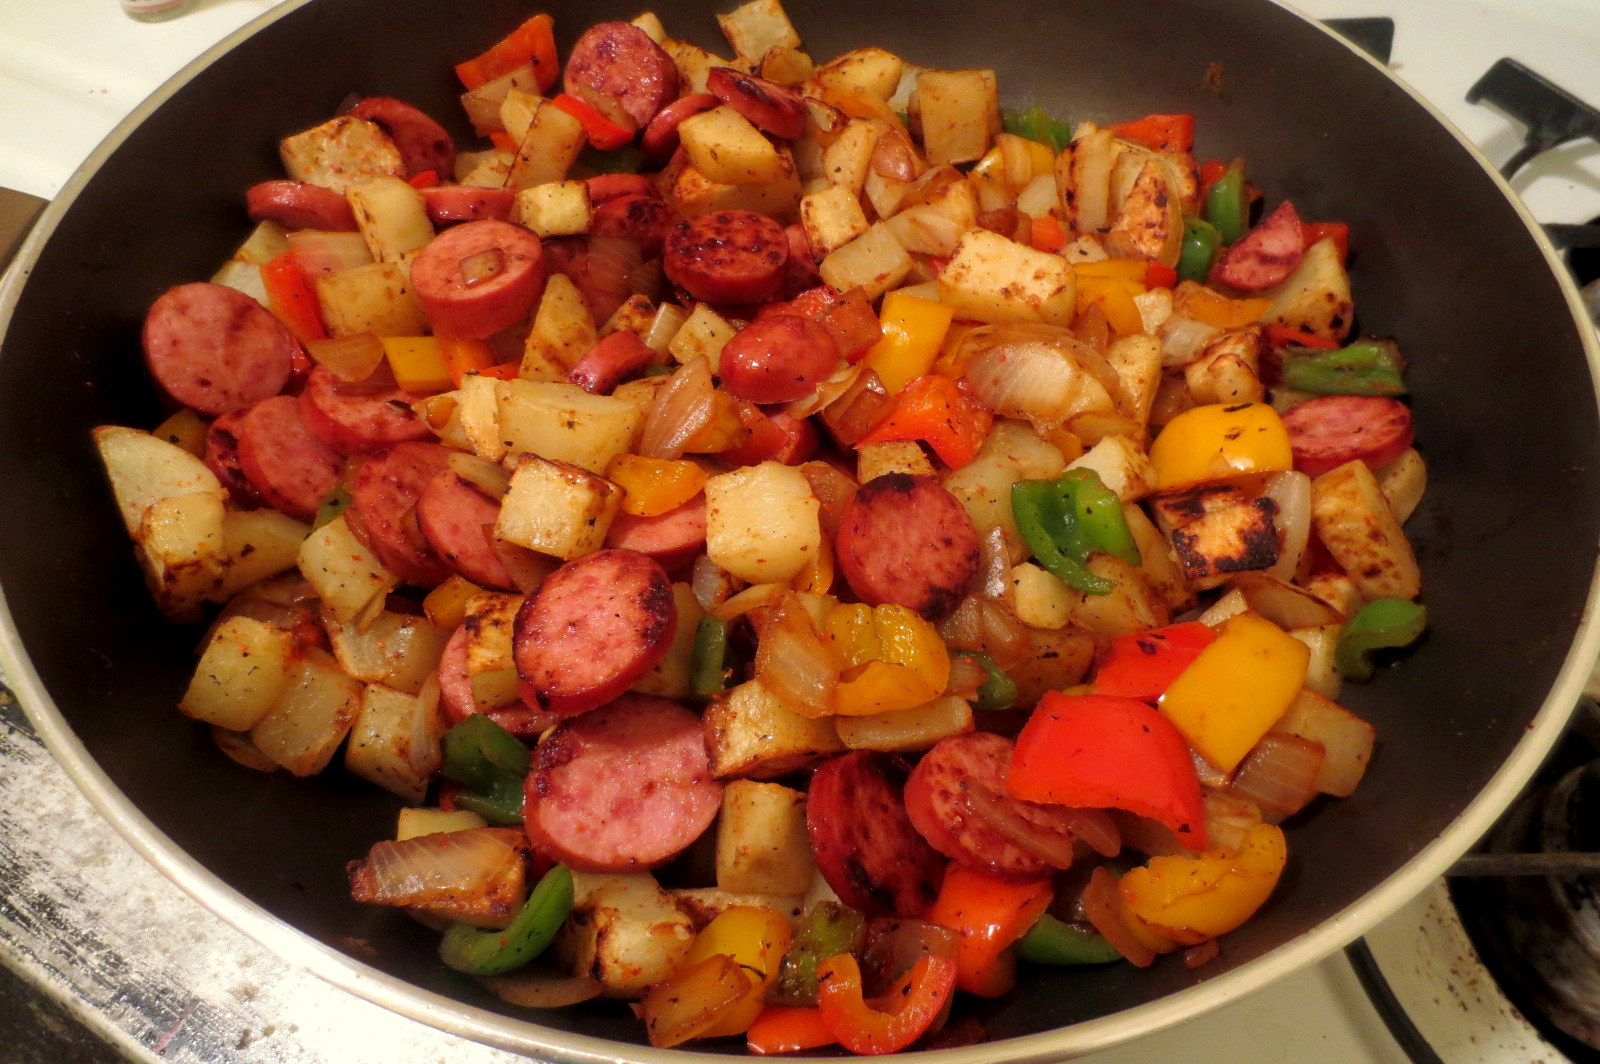


 Once the kielbasa is done, take them out of the skillet and set aside. Start the bell peppers and onions in the pan.