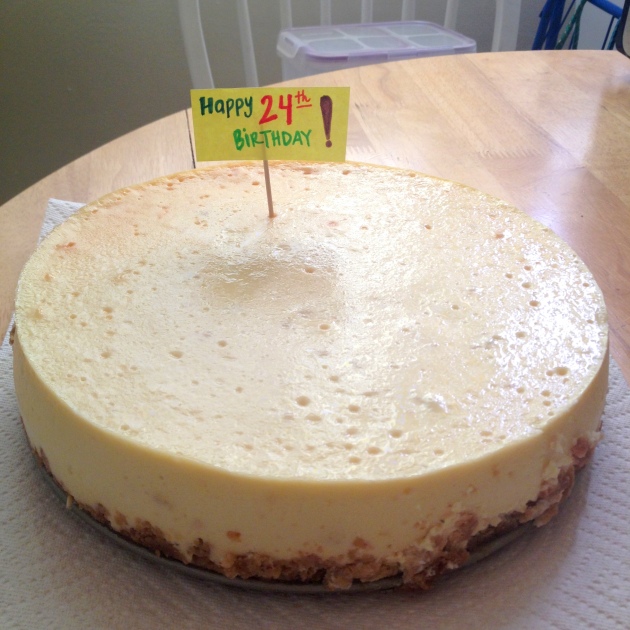
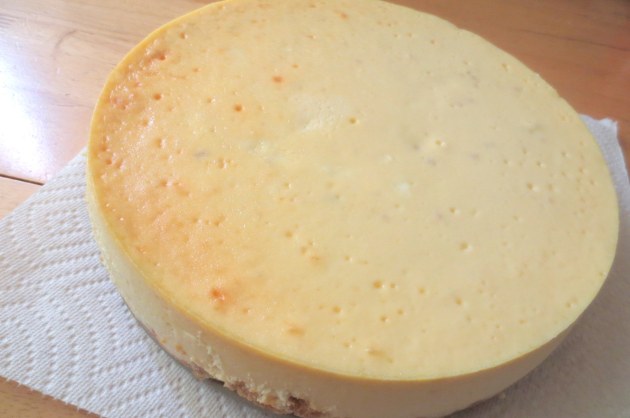
My friend (and neighbor) Alex turns 24 today! Wow, he is SUCH a youngin’! I like to think of him as the little brother I never had – which means I like to boss him around and needle him and be kinda mean to him 😛 Like any big sister would! Anyway, he’s young and has the metabolism of the Energizer bunny (super unfair!). He asked me to bake him a cheesecake for his birthday and I did!
It was my first time baking a cheesecake and it’s definitely a time intensive thing to make! I followed this recipe with a few modifications.
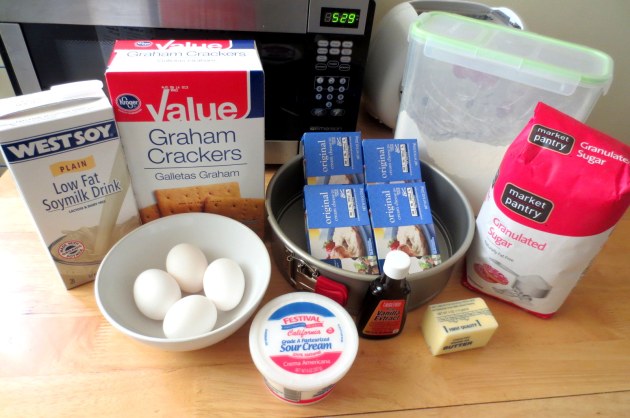
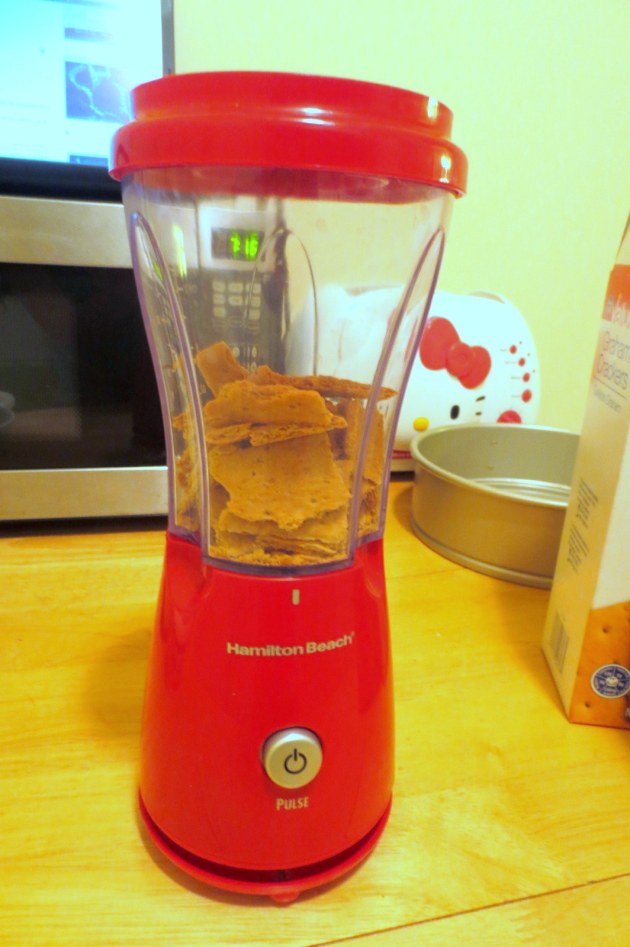
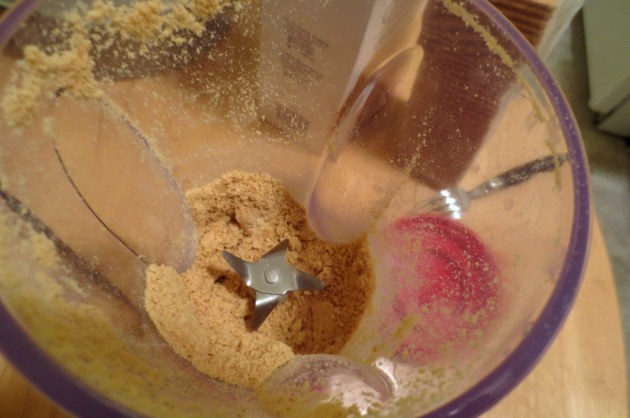
I can’t drink milk so I always have soy milk in my fridge – I subbed soy milk for the milk and used more graham crackers than what the recipe called for. So my friends and I did a white elephant gift exchange over Christmas last year and I got this handy dandy blender! (Similar to the size of the Magic Bullet but not upside down) I decided to try and see if I could make graham cracker crumbs with it!
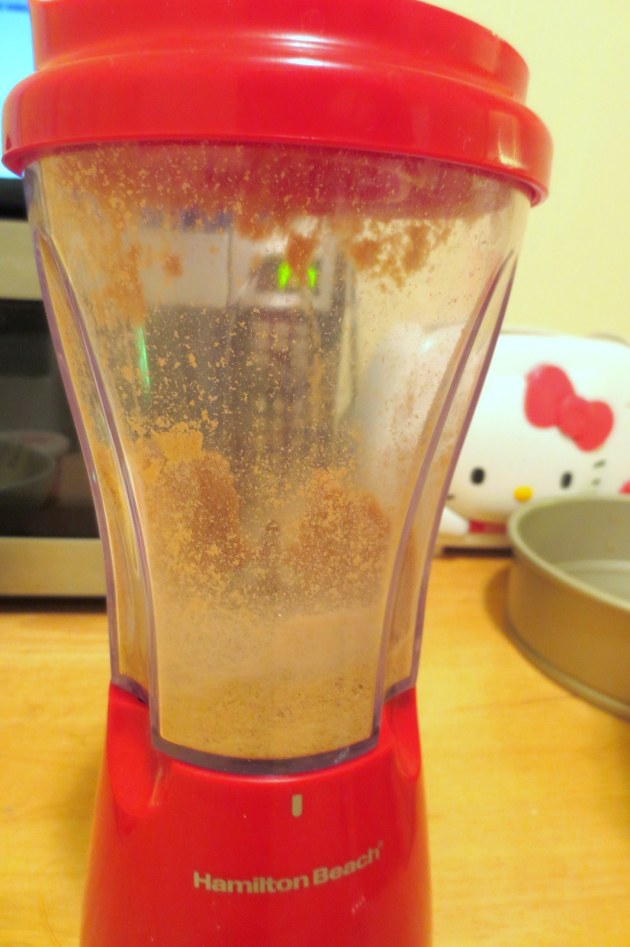
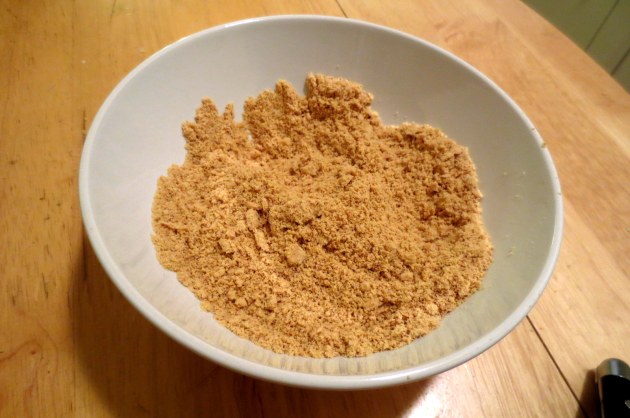
I had to pick out a few chunks that didn’t get blended but overall it was MUCH faster and easier than my old method of crushing the crackers in a ziploc bag with a rolling pin hahah 🙂 So I had to do the whole blender thing maybe 4 more times to get this:
NOTE: You can also buy pre-crushed graham cracker crumbs at the store but what do you do with the rest of the box?? I like buying whole crackers and crushing them myself because I can eat the rest of the un-used crackers! I am definitely NOT going to eat the rest of a box of graham cracker crumbs. Unless I was really really starving 😛
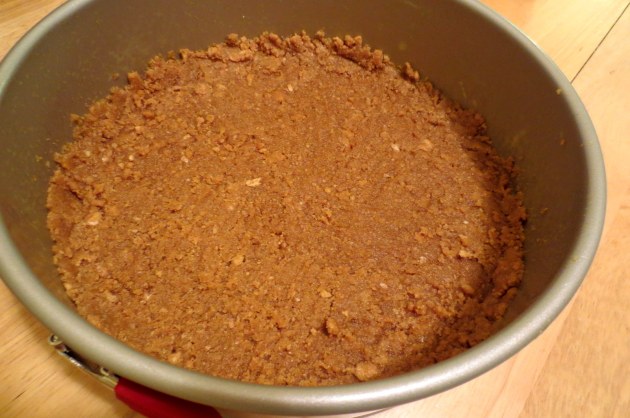
It was probably more butter than I needed but I really wanted to make sure the crust stayed put and held together!
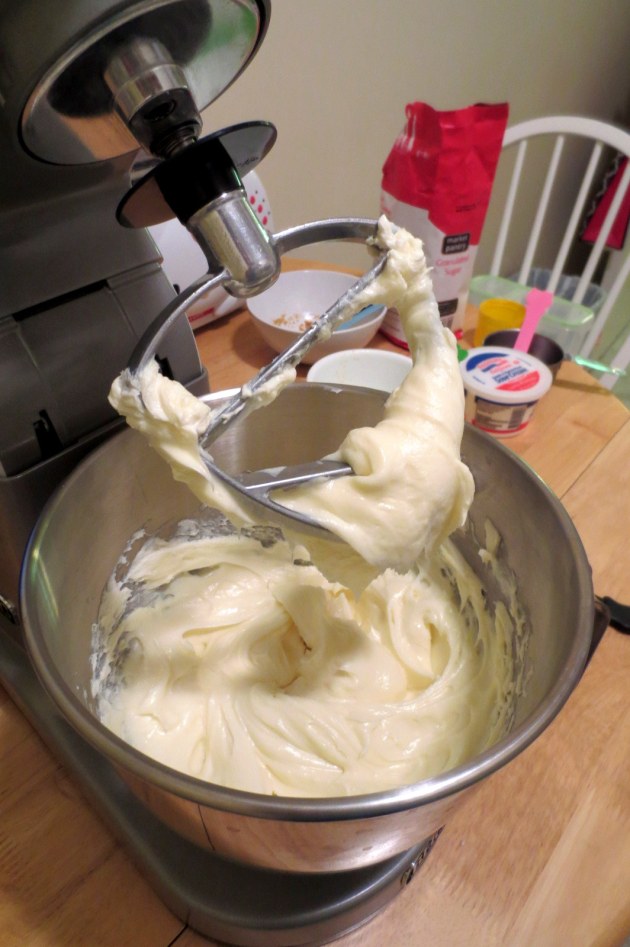
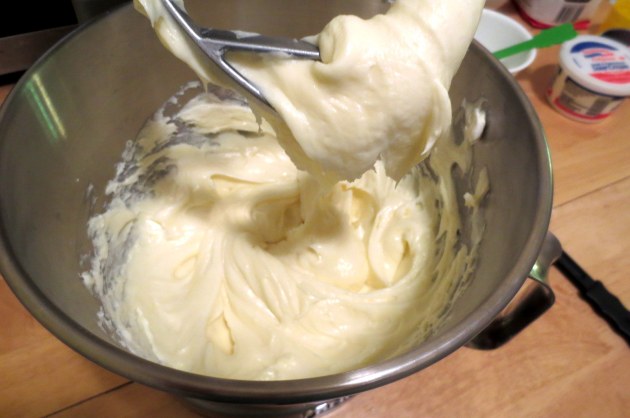
Now time for the cheesecake filling. It is REALLY important to let all the non-dry ingredients reach room temperature before you start baking!! I let everything sit out for 2 hours before I started (you can see from the time on my microwave between the ingredient picture and the graham cracker picture). It is much much easier to cream the ingredients together when they’re at room temperature!
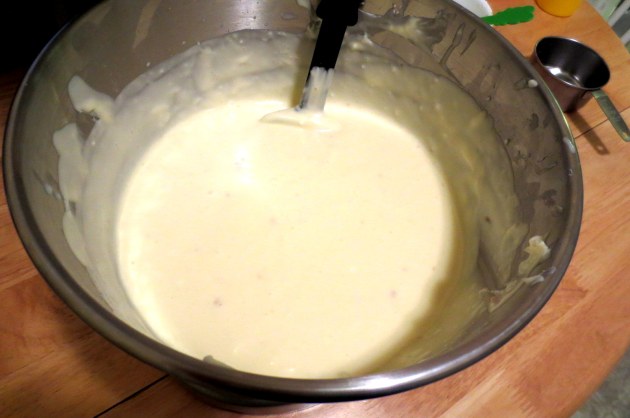
Once you add the eggs, vanilla, milk and flour it gets much more liquid.
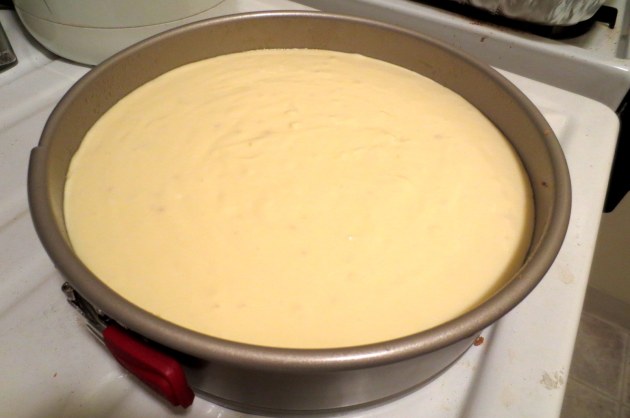
Carefully pour the cheesecake batter onto your crust. I actually spooned it in at first to make sure my crust stayed in the pan 🙂
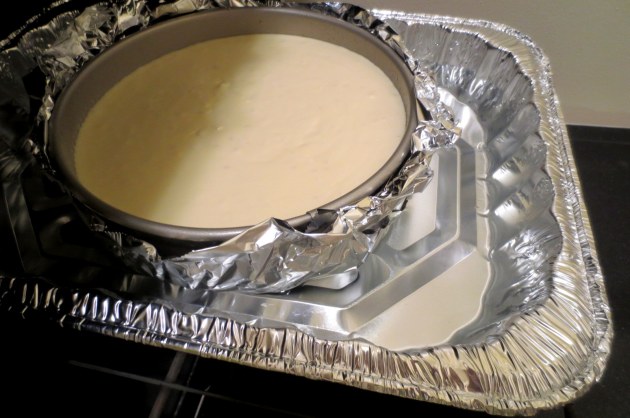
To prepare the cheesecake for its water bath, I wrapped the bottom in foil like so:
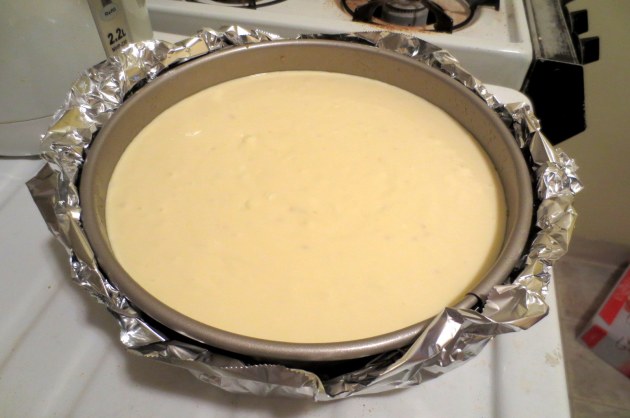 Then put the springform pan into the empty roasting pan and slide it into the oven. THEN pour water into the roasting pan. It’s hard to see in my picture, but I filled the water level until it was about halfway.
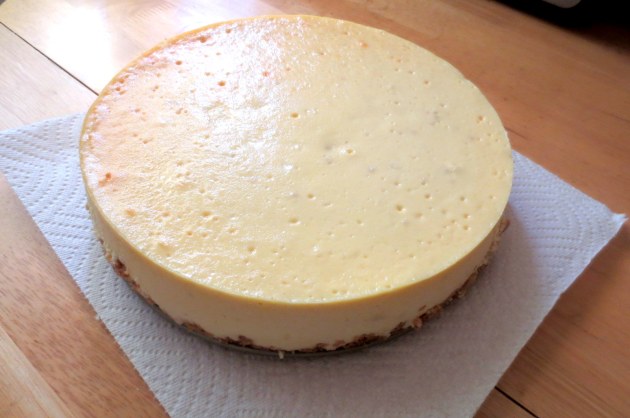
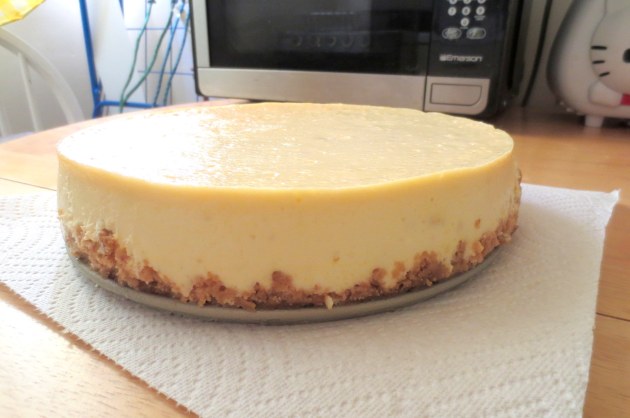
I baked it for a total of 1 hour and 16 minutes, which was definitely a little too long! I checked it at one hour and it was still very very liquid. So I added 8 minutes, checked again and added 8 more minutes. I probably should have stopped after 1 hour and 8 minutes. To prevent cracking, I left the cheesecake IN the oven for 2 hours until the oven was cool . I finished baking at 9:30PM and took the cheesecake out around 11:30PM. The top was definitely a little brown 😦
This is how it looked after about 18 hours in the fridge:
But the birthday boy seemed to enjoy it! He ate a huuuge slice after I gave it to him 🙂
Happy Birthday Alex!
Happy baking!
-Yenny
