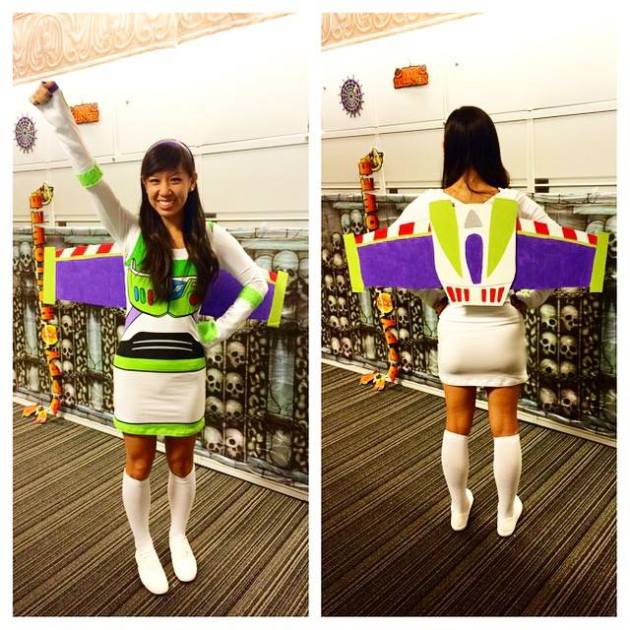
So this year for Halloween, I was Buzz Lightyear!! And boy I had SO MUCH fun making the wings and putting the whole costume together! 😀
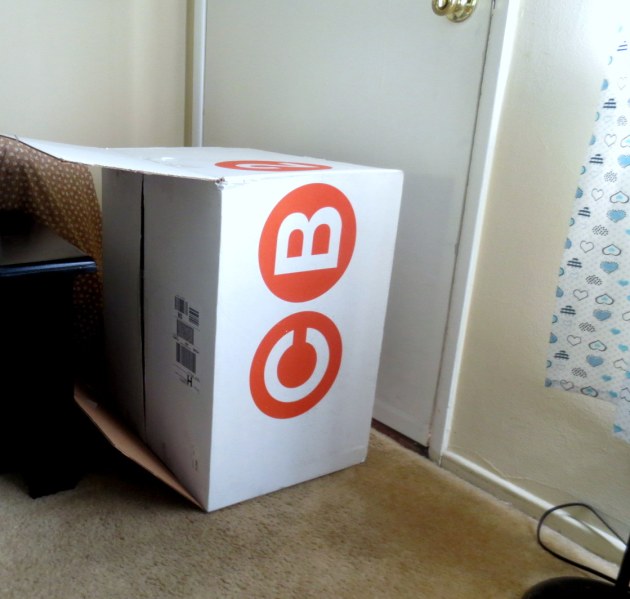
It was so much fun to dress up for work and all my coworkers loved it too! I only made the gloves and wings for the costume, everything else was bought. For the wings, I got this giant CB2 box from my friend –
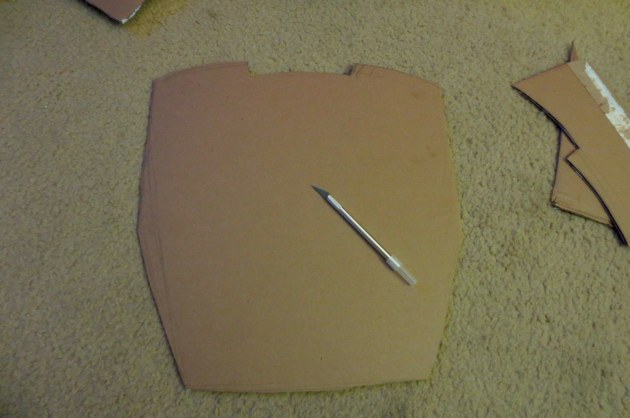
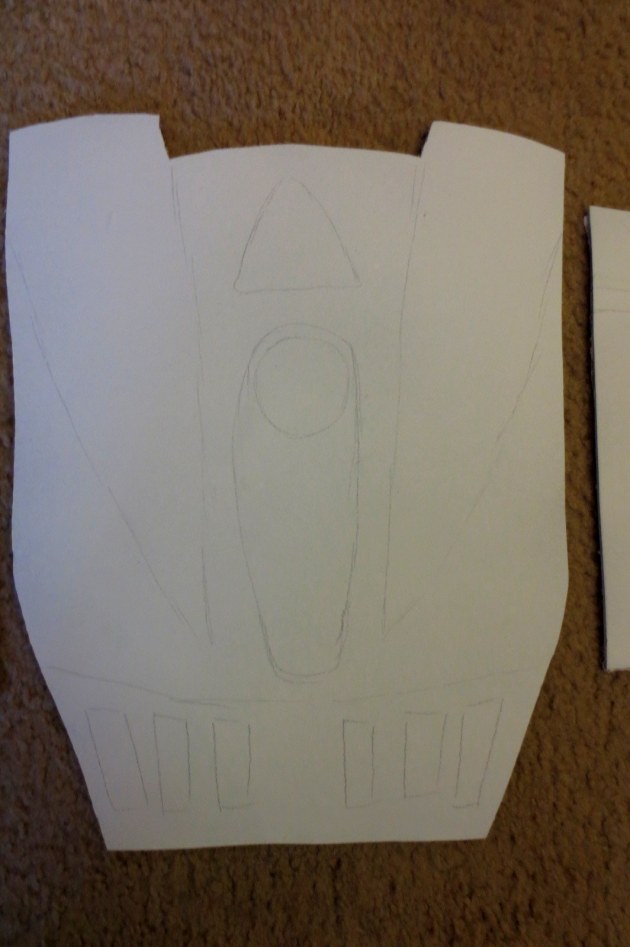
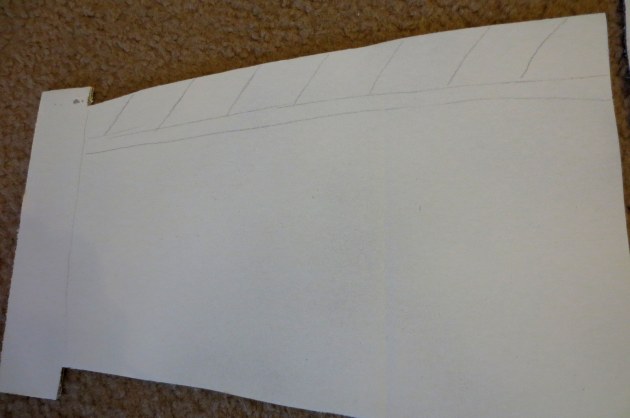
And then I stared at many reference images of Buzz’s jetpack on Google images. I sketched out the rough shape and cut them out with an Exacto knife.
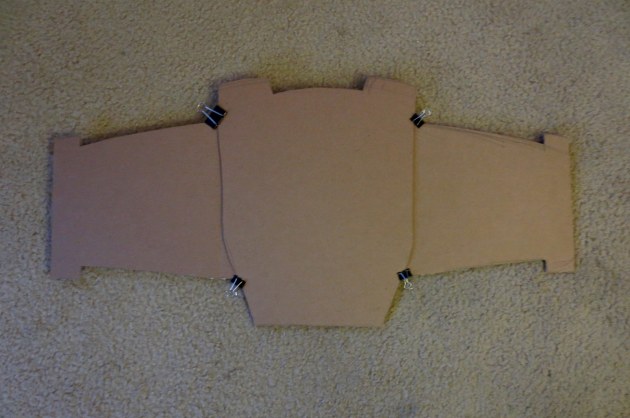
I cut out one wing, then flipped it over and traced it onto another piece of cardboard so both sides would match.
Then I binder clipped the pieces together to see how they looked. I ended up cutting the center piece two more times to make it smaller because it was kinda looking like a Teenage Mutant Ninja Turtle shell. I shortened the wings too.
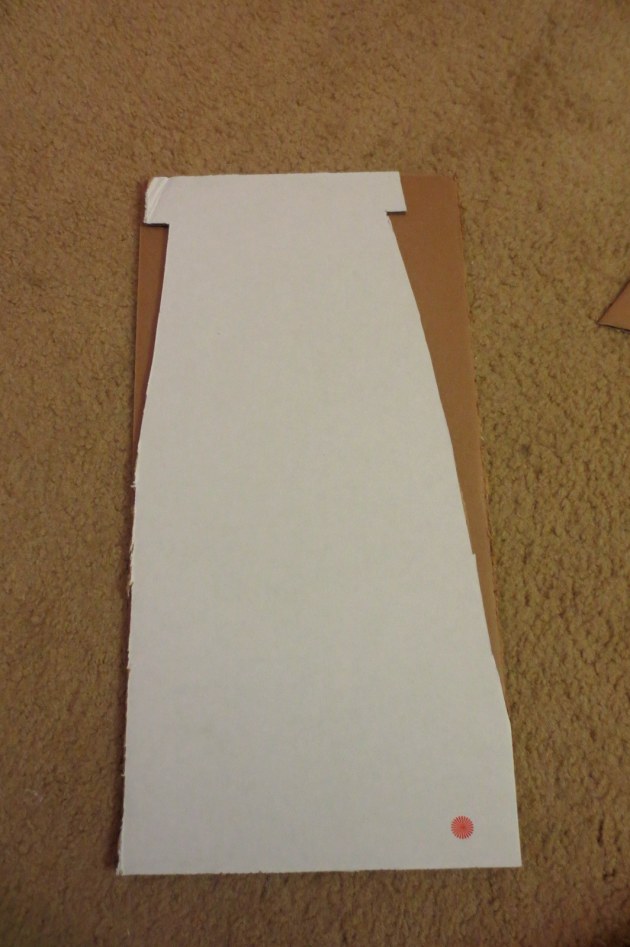
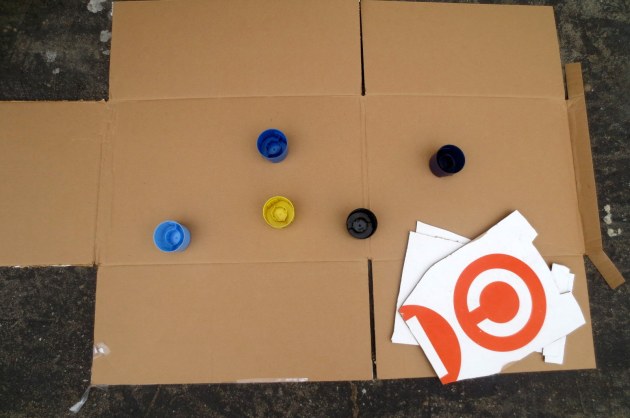
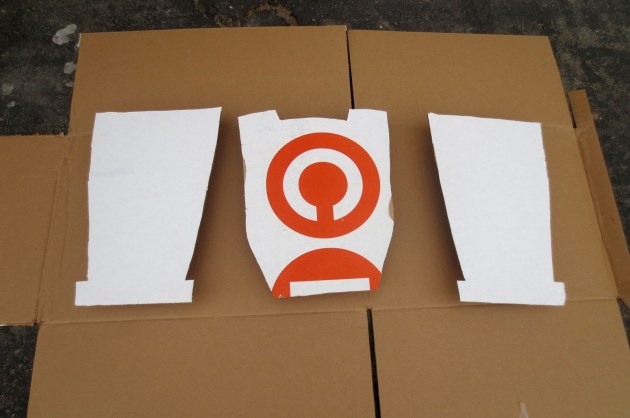
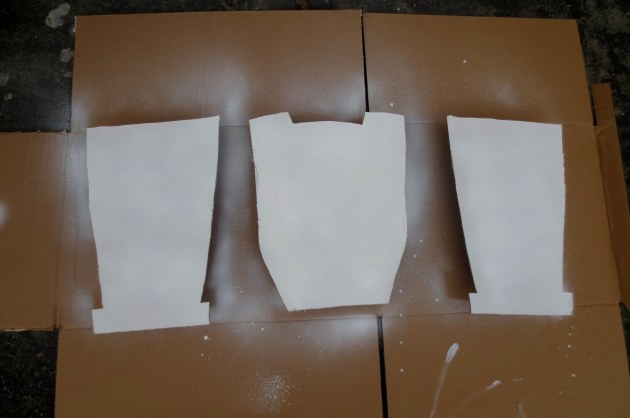
Now the fun part! Spray painting! 🙂 I sprayed both sides with Kilz No Odor Primer in white. Set up your spray station – I propped each piece on top of the caps of the spray paint bottles I had.
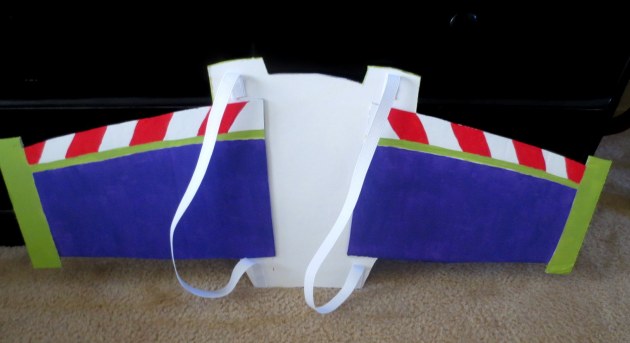
I did two light coats on both sides and made sure to cover up the CB2 logo and I made sure to spray the edges too. Once the pieces are dry – shouldn’t take more than an hour – I drew Buzz’s jetpack design onto the wings.
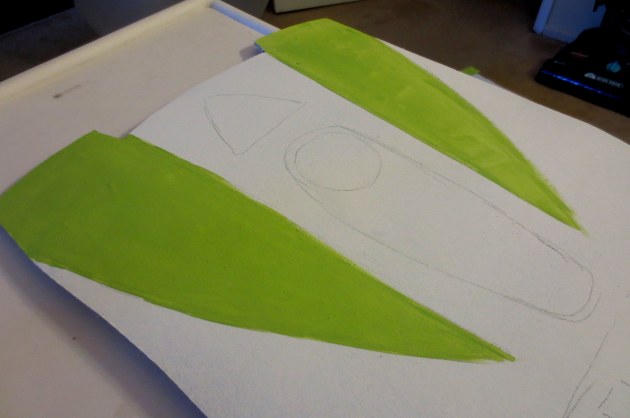
The design isn’t very difficult and I traced very lightly. Then start painting! I did 2-3 coats of each color to get the coverage I wanted.
Don’t forget the edges!
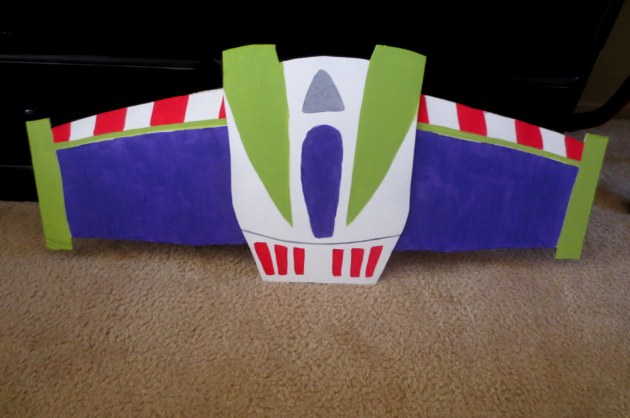
Ta da!!! I’m so proud of these wings! They look pretty darn good for being cardboard and they weren’t too difficult to wear at work. I did have to make sure that I had room to walk and turn around though – or I ended up taking them off and on as needed.
I hot glued 1 inch wide elastic to make straps so I could wear them and the elastic provides a little give in case someone walks into your wings (which happened a lot lol)
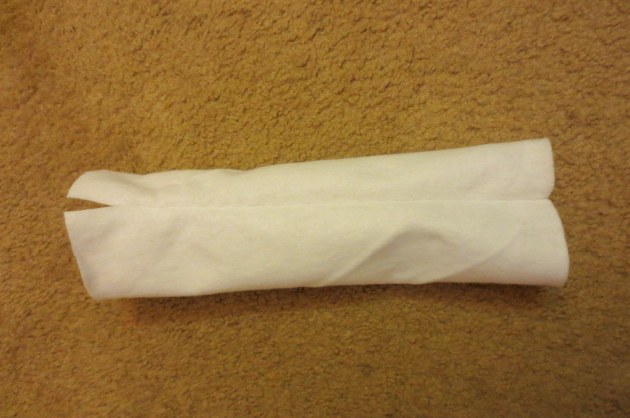
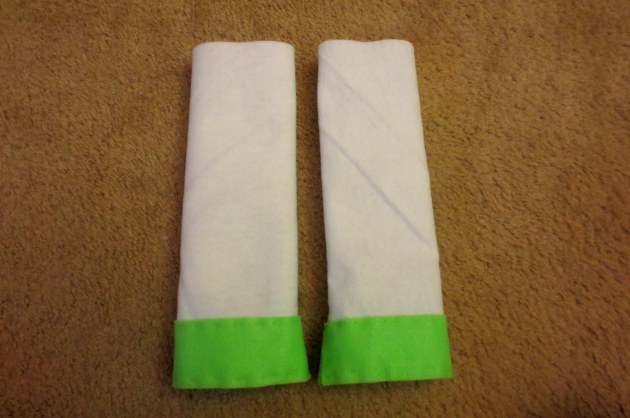
The gloves were super easy too! I bought 2 squares of white felt and sewed it into a tube, then flipped it inside out so the stitches didn’t show. I left the upper part open so I had more movement.
Cut a wide strip of lime green felt and sew that onto the open ended part (which will cover the opening)
Then cut a rounded corner rectangular shape in the green and a thin strip of purple to finish off the gloves. I have no pictures of this process but it shouldn’t be too difficult!
Project Breakdown:
– Cardboard box – free!
– Spray primer. hot glue gun, Exacto knife – free, already owned
– Various paints – 50 cents each, $2.oo total
– Elastic – approximately $1
– Gloves – approximately $1
As you can see, the DIY portions of the costume are very cheap! The Buzz Lightyear tank dress was $25.oo from Spirit, I bought a purple headband ($1), long sleeved white t-shirt ($6), white knee high socks ($3) and white sneakers ($10). So the total cost for the whole costume is about $45-$48 BUT the headband, white t-shirt, socks and sneakers are all re-wearable! Not too shabby at all! 🙂
Hope everyone all had a great Halloween!
-Yenny
What were the measurements for your wings and how long did i take to make?
Hi Alyssa,
The size of the wings were scaled for my height and body type. I started with a rough sketch and had to cut more and more off to make them smaller and proportional to me. It took me about 2 weeks, but not working constantly.
Thanks!