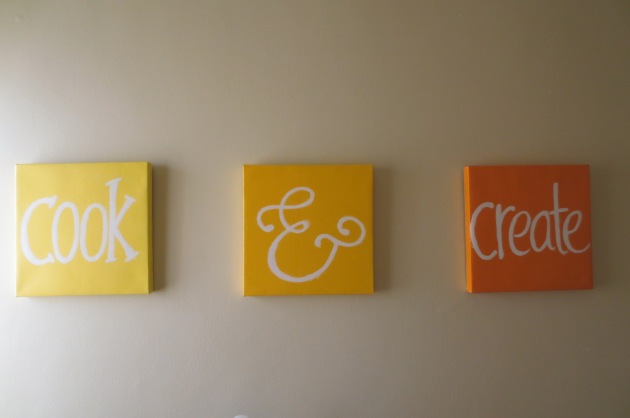
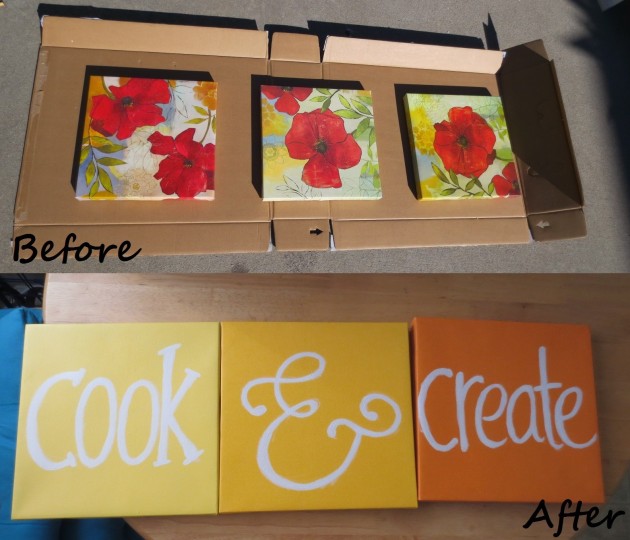
I’ve FINALLY finished my latest project! I waffled back and forth while doing this and finally made a decision and stuck to it!
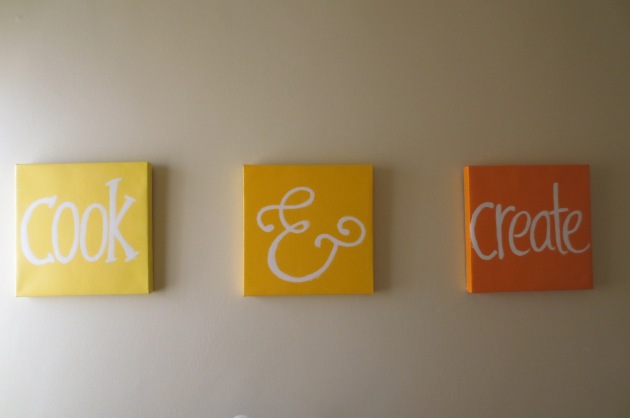
Ta-da!
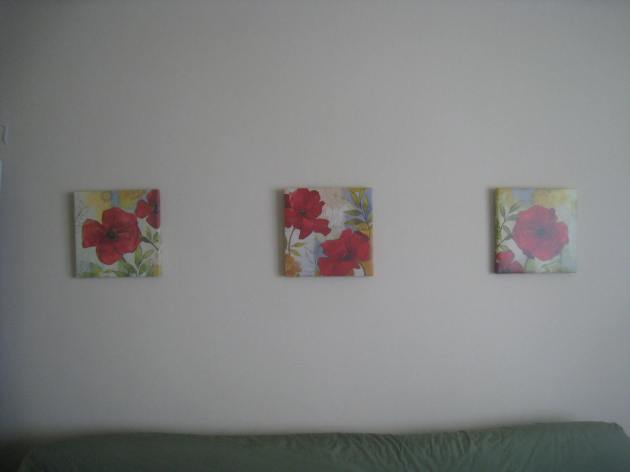
I now have new kitchen art! I was eco-friendly again for this project and reused the canvasses that used to hang above my futon before I replaced them.
The color scheme in my kitchen is a little different than the main room of my apartment – I went for the orange-citrusy tones there. Once I decided that the canvasses would go in the kitchen, I headed over to Lowe’s and grabbed myself some paint.
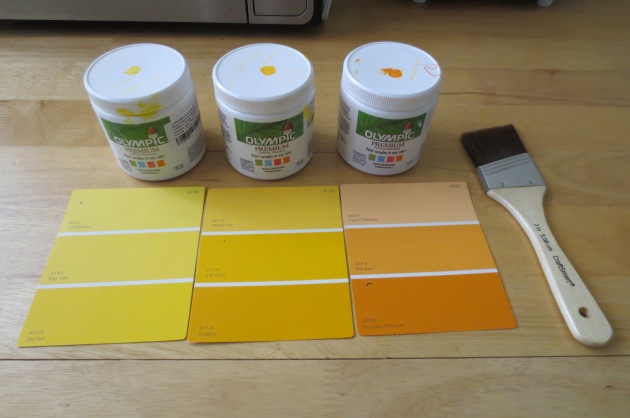
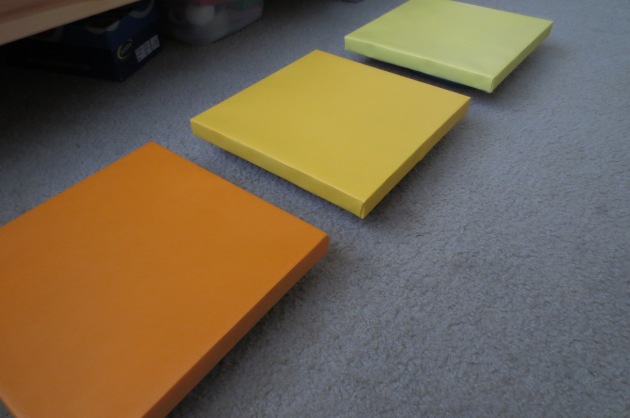
I went for an ombre effect and chose: Sun Shower, Fall Gold, and Pumpkin Pleasure from the Olympic Paint collection. I chose real paint over craft paint because I wanted really good coverage and better quality. Then I started the prepping process:
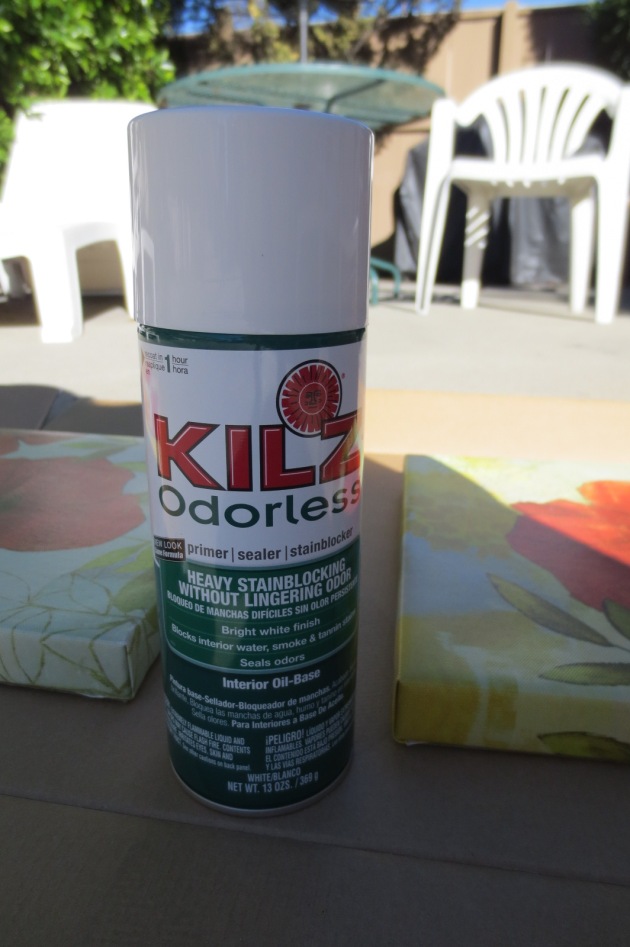
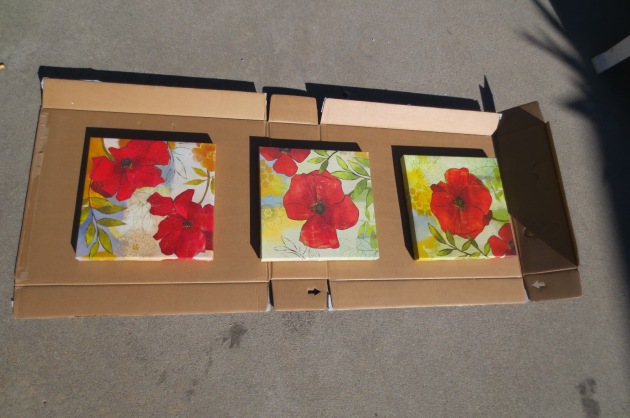
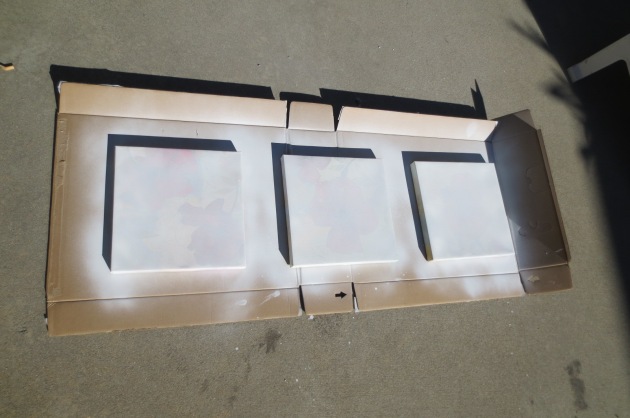
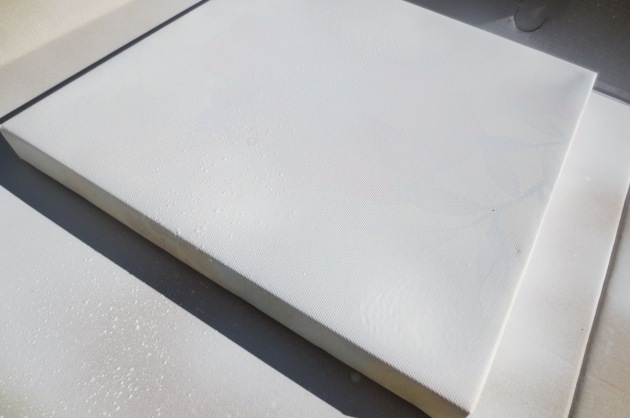
I used Kilz Odorless spray primer to prime my canvasses. Ordinarily you wouldn’t need to prime, but I had to cover the art underneath.
Then I sprayed sprayed sprayed! Many of my curious neighbors came out to take a peek at what I was doing haha
Then I got to bust out the fun paints and go crazy! I did two coats and it gave me great coverage!
It was this point in the process where I got stuck. I originally thought I wanted to pick a script-y font and trace it onto the canvas and paint over that. So I went through a TON of fonts before I settled on one and I traced it on the first canvas, started painting over it and I HATED it. Imagine how I felt after ALLLL that agonizing and then hating the finished product!! So I painted over it. Good thing I used real paint from Lowe’s because it covered right over the tracing and painting and looked good as new afterward!
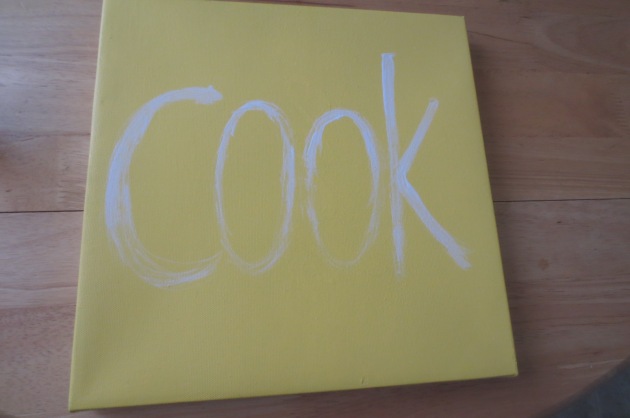
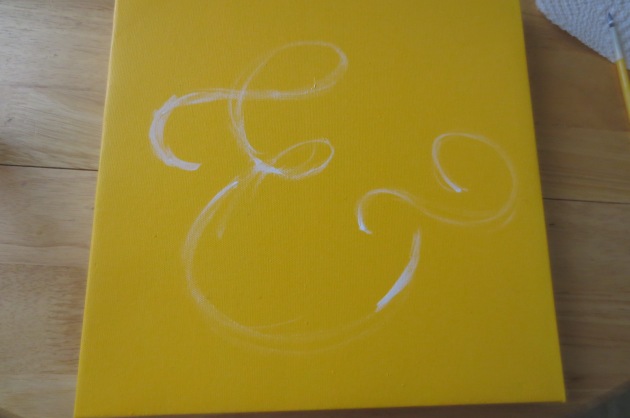
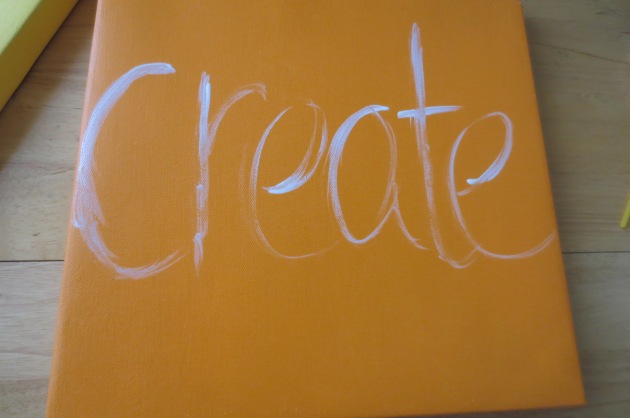
So the canvasses sat there for a while and one day I got my butt in gear and decided to freehand the words on.
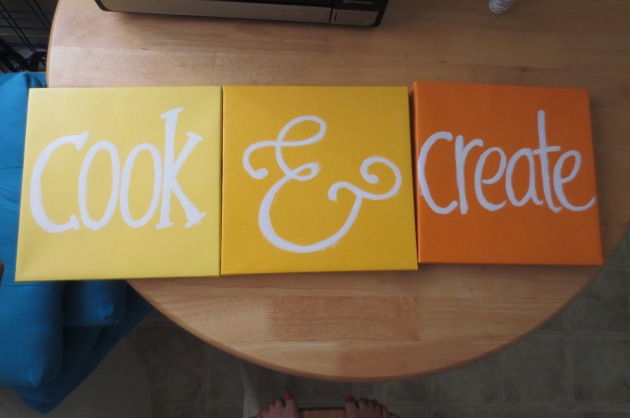
Here they are all done! This is after 3-4 coats of white craft paint on the letters.
So the proportions are a little off and the “create” is off center but I love it way more than I would have if it was perfect! 🙂
Project Breakdown
Canvasses – Free, already on had
3 sample paint pots from Lowe’s – $3/pot = $9.00 total
White craft paint for the lettering – $0.69 from Michael’s
Kilz Odorless spray primer from Lowe’s – $6
Paintbrushes – Free, already had
Total: $15.69 (maybe about $15.00-20.00 more if you didn’t have the canvasses or paintbrushes)
Totally worth it!
Now if I only I could figure out what to do with the leftover paint samples….
Happy crafting!
-Yenny
